Showing posts with label head studies. Show all posts

Monday, 20 February 2012

Ss2- Heads Baked & replacement parts

Head Developement 

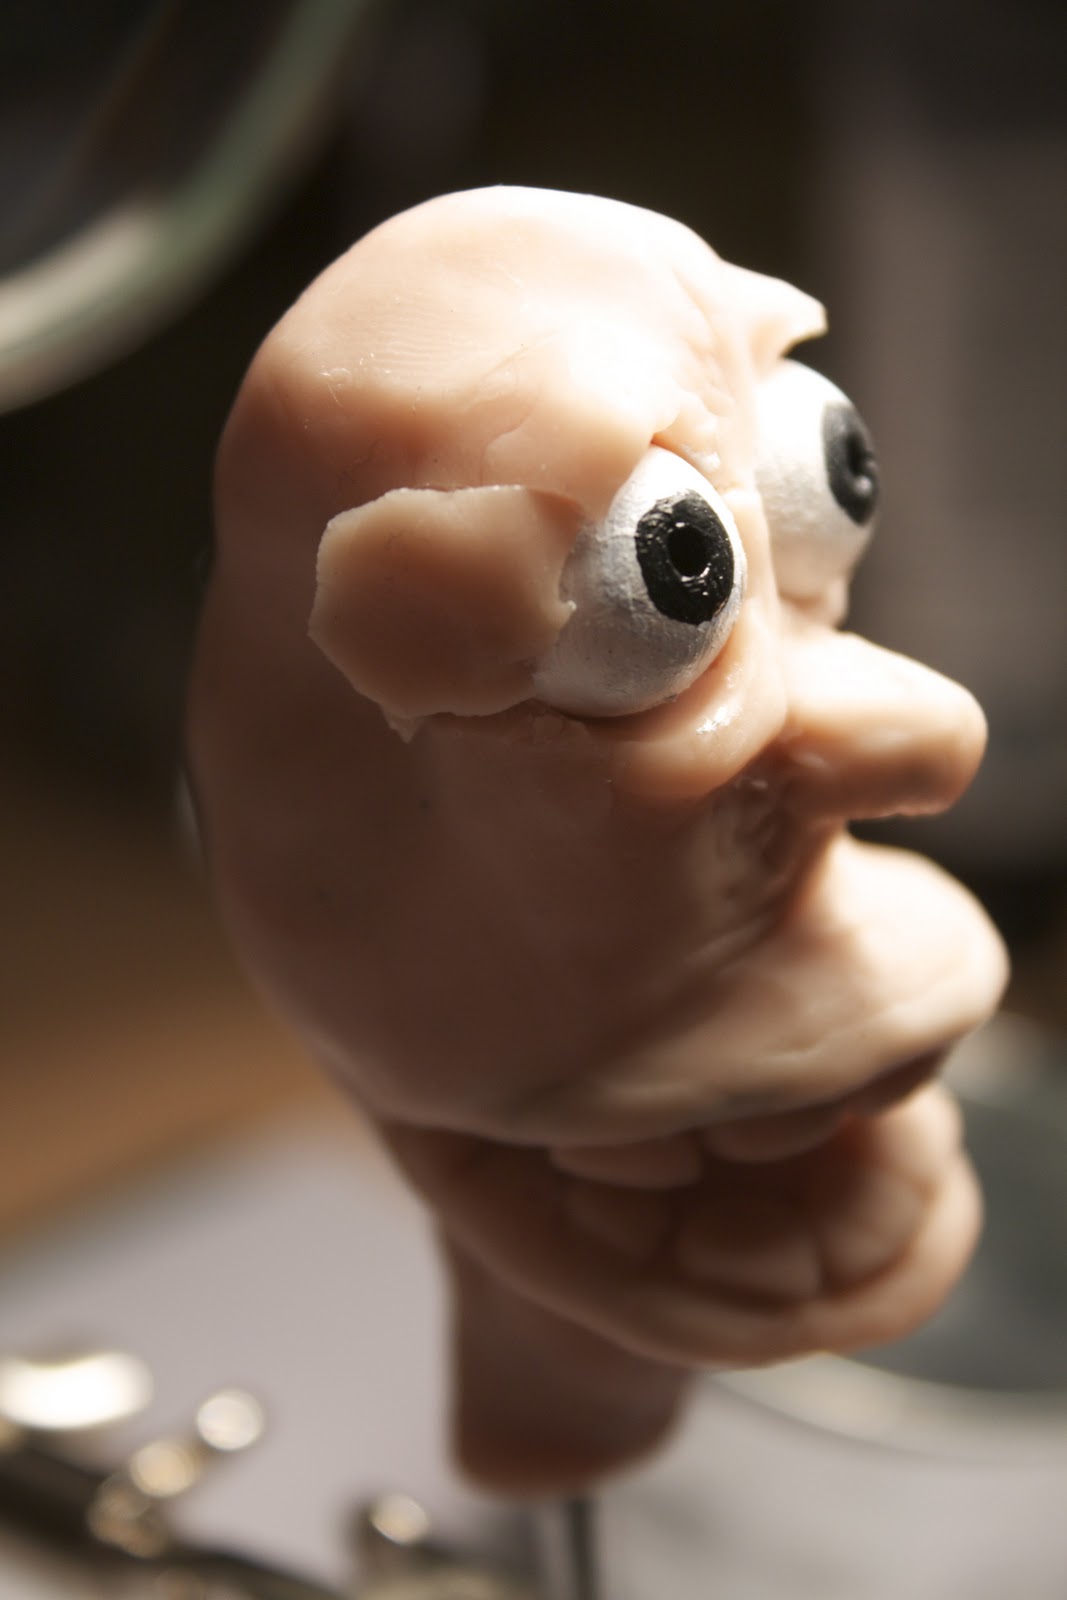
 Taken from yesterday when i baked both the heads after filling in the bottom of the chin and smoothing out areas, also took the time to create some sculpey pieces for when the characters eyes are open and some moustaches no reason for them though but after watching so much pjs wanted to test how the character would look with one.

replacement parts and heads baked

still hot from the oven took longer because glues used could only go to 110deg
smooth texture finished off
 The only other problem i didn't want to come into was for the space for the eyes to get into the sockets to shrink in size then not allowing the eyes to get back in or worse the outside of the sockets to have a thin layer and so has the possibility to crack causing more problems.

nose detail
eyes currently have a glare because of the top lid
the line to the left of the mouth is the inner wire which will be covered up when painted
Another set of lips made which are similar to this one have been broke but luckily can now be glued back the can be used again that is the only thing making sure not to over bake.
looking pretty parallel only thing you cant see is the ears
Next stage which has already been started the painting of the heads and all replacement parts with a trip to hobby craft in the morning.

Friday, 21 October 2011

Ss1- Update on Canimation,hand studies and head studies


Red bull-Machine!

For one of my 10 second clips I was thinking maybe incorporate the Red bull can into a kind of transformer type machine where a character hits the can and then gets surprised when the can retaliate and have an old school look of boxing sketch from Chaplin and buster.

basic look at the moment

More dominant picture
 Hand studies
This is the hand I used in the say hello clip bellow using the mime character, for animating this hand worked very well and was very pleased as fingers weren't wobbly and stayed in place.The only criticism I could give is that the paint could come off easily.
To stop this occurring,im not sure wether its worth doing another layer of latex on top of the acrylic paint to make it stay a little better or at least longer.


 This second hand I actually tried just using the latex straight onto the wire and worked but afterwards added thickness using plaster tape and another layer of latex on top.


 May have shortened the thumb a little bit too much but still able to animate hopefully.

waiting on latex to dry
 Old Man Puppet Number 2


These are just some photos of him after another go in the oven and a coat of latex just one for now but really noticed the difference after the latex and really gives it a good finish still need to add hair,paint face and create replacement teeth.


Overview

Short update but still theres loads to be done and time is rapidly being taken from me, just had chance to do this post. The other day I booked the milo and so all systems go at the moment with a list of things to be finished before im ready for animating.
There will be a timetable being put up next time also I will hopefully have the cloths for my armature done and dusted with the help of my lovely girlfriend jade, so hopefully will have a lot to put up tomorrow.


Wednesday, 19 October 2011

Ss1-Don't be rood say hello!Animating first puppet.

Just a little something i made earlier...


Dragon Stop-motion
First puppet wasn't a full success but can you tell,set up my new software Dragon today with control pannel and started making a little clip a test really to see how my puppet was to animate and what have you.
  Painted him in a Mime way which looks different but when it comes to animate the character is very friendly, also testing out a latex hand i made prior in the week which i matched up the colours to keep to the same character.
This puppet is a before puppet to get the learning proccess of software,materials,character and lighting up to scratch for my 10 second clip which will be used and be marked on for Ss1 and my Canimation project.


Before adding colour and making more of a mime out of him the reason of the shine is i might of over done it on the latex as it was the first puppet i latexed which i think would of worked a little better if i added the colour before the latex.
Third puppet in the making

This is my next puppet which i have already started on which will have no mouth in place like the others instead will be using replacement mouths to be able to lip sync emotions a lot easier and might just use my acrylic eyes which i have been saving.

Monday, 17 October 2011

Ss1- Second puppet face


This puppet i decided to add foil to make it lighter also easier to fill out in areas to make the face look the way i wanted it to, first did the wiring on the inside with about 5mm thickness and the jaw and nose with 1mm thickness.

Outline visable

 Sculpey stage

Before the oven

This face is more of an old man with that in mind i made sure the eyes were in the centre of the head, gave him little hair on top but much round the sides to give the more middle age look also added some facial hair for effect.      Next with expression i was going to add the eyebrows on for each frame then thought it a good idea to add them on a layer of 1mm wire and then when baked in the over would be solid within the head yet stil able to more as to show emotion.   With the last puppet head there was difficult when moving the mouth without getting cracks and so i left space where theres going to be more movement and later use plastercine to fill for each shot.


dramatic size difference in puppet

side view
 This picture above shows where there is no sculpey on the puppet and will be replaced using plastecine within most shots and will not be visible like now with it all being the same colour as wel.

After oven


Watching tv

With the over done puppet of keeping him in there for too long came cracked to easily and so this time when putting this one in i became overly causious and didnt leave him in long enough but i might see if i can put him back in. The mouth would be closed in most of the shots and when open i would be putting in replacement teeth of how wide the mouth is open.

More news on facial studies soon also how my armature will look with the puppet face i choose to go with and hopefully get on with some worthy storyboards!

Friday, 14 October 2011

Ss1- Head studies progress


Before going in the oven
 Got straight underway with the puppet head today taken most of the day to be honest, layering and sculpting the sculpey first thing i noticed when putting it on that the mouth piece seemed to stick out a little bit too much having it look more like daffy the duck so i went for bender/cartoon scull.
      At first the nose was twice the size and so bent it to double the thickness of the nose which made it look less like chris from slipknot, once adding teeth the face looked a lot different and less duck.


After being in the oven

absolutely stunned with the result but less happy with how where i hadn't mad the sculpey thicker the oven would make it harden quicker and so this became a problem when putting the eyes back in and creating cracks straight away.

After oven


 These are some more in depth photos of the cracks which occurred 


front view

Side view

Full view
Overview

After working on the puppet most of the day i felt this was a set back but will try and fix this but at the same time create another one tomorrow which will have more character and will aim to put one to a armature i have previously made.

This is what i will be working on tomorrow will also try to use latex this time as today i didnt have time and didnt have enough time to fix the one above.


Wednesday, 12 October 2011

Ss1- Head Studies

eyes that currently are upsidown 
The eyes haven't changed much from the last post just when moving the eyes the pick was going straight through the ball which sometimes left marks while testing, so used mili-putty and filled in the back of the eye as seen on the right and painted over looking smooth on the left.

Head studies

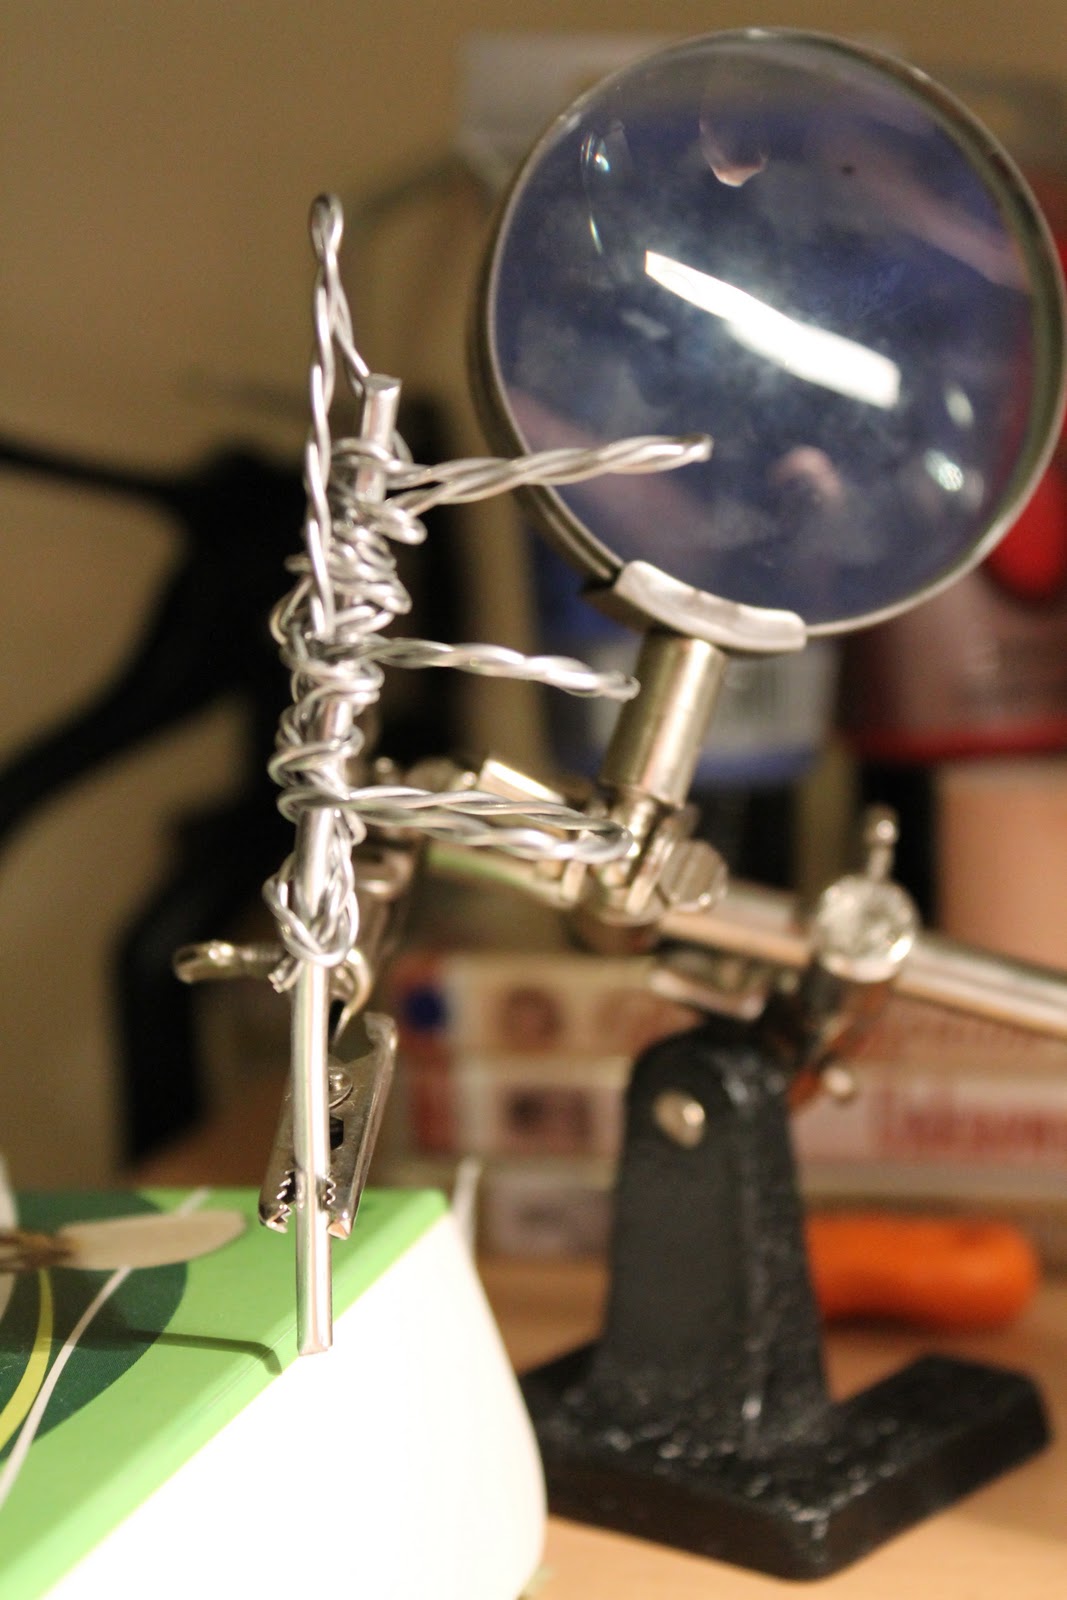
Next starting on some head studies was is greatly needed to have ability so show great expression and so will try out with different materials over the next few days, first used a thick wire to hold the head at the neck for the weight and then to get the shape of the face i used about 1mm thickness wire also help in place with mili-putty.

Front view

Quarter side

 Second wire head
 With this head i wanted to try and use no mili-putty hense more wire also left more space for the mouth  and the nose smaller. Try out both ideas tommorow.


Overview
Mostly going to use Sculpey for all faces but yesterday baught some latex and actually came in one day how amazing, this will help boost my skills with latex and hopefully have some ausome heads to work from for my ss1 character.